In this post I’ll walk you step-by-step through the process for creating and uploading animated images for the Google My Business Products feature.
Last week our friend Darren Shaw over at Whitespark shared an update to this post on how and why to use GMB Products (which is well worth reading). The update relates to a really fun hack for displaying animated images in Google’s local Products results. For example:

At Juris Digital we are always looking for ways to help our clients differentiate themselves. Our clients compete in some of the most crowded online markets in the world (personal injury in basically any large market qualifies) and in order to win business it’s not good enough to just show up in search results.
Winning big cases requires differentiation. And while a tactic like this is superficial, it can still help catch the eye of a prospective client, and nudge them in your direction and away from your competitors.
How to Create and Upload Animated Graphics for Google My Business Products
Below I’ll show you step-by-step how you can take advantage animated images in Google’s Product feature, including a quick tutorial on using Canva to create animated graphics. Let’s go!
1. Create your graphic
If you are not a graphic designer and you don’t have skills with any of the major graphic design software tools, I suggest that you head over to Canva, which is a tool that helps non-designers (like me) create graphics that aren’t terrible.
Obviously, the graphics you create for your GMB products could take any form. What I’m going to do is show you how to create a simple graphic with a background image, text, and animation which will display properly wherever Google displays Products.
How to Create Simple Graphics in Canva

When you’re in Canva, click File > Create new design > Animated social media.
By default Canva will create an image that’s 1080 x 1080 which is fine for our purposes.
Let’s start with choosing our background image. On the left hand side of the screen, click Photos and then search by keyword to find a photo that’s relevant to your topic. For this example, I searched Divorce.
Select any image that you like, and then drag it so that if fits within your canvas. Canvas retains the dimensions of the photo when you drag, so you don’t have to worry about making it stretched out.
Because we are going to place text over the image, it’s a good idea to darken the image a bit so that white text will be readable against the image. To do this, select your image and then click Adjust. From there you can use the Brightness adjustment to darken (or lighten) the image.
In this example I also applied a filter to the image using the Filter tool. The filter I applied is called “Polar”. I thought this worked because it’s kind of a “cold” look, which works well with the theme of divorce.
Next, let’s add some text. Click Text on the left hand side of the screen, and then click Add a heading. From here you’ll be able to type whatever words you want to have appear on the graphic, change the font, the size, the color, the alignment etc.
IMPORTANT: In order for the text to display properly in Google search results, I advise that you place it in the vertical center of the image, rather than skewed to the top or the bottom.
At this point you may be happy with how your image looks. However, if you’re feeling creative you can also play around with Canva to add more design elements. In this example I added rectangle elements (using the Elements tab) and customized the colors so that they match my client’s branding.
Once you are happy with your graphic, it’s time for the final step which is adding animation. You can either add the same animation to all of the elements or you can add animation to each individual element. I chose to add animation to all of the elements.
To do this, select all of the elements by using command A (or control A) on your keyboard. Then, click Animate. This will bring up several free animation options (as well as some that you have to pay for). To see how each works, simply hover over it. For my graphic I chose the Tumble animation.
Finally, Canva sets your animated graphic to play for 5 seconds. I suggest changing this to 3 seconds to make the image file a bit smaller.
2. Export your graphic as a GIF
Once you are happy with your animated graphic, download it as a GIF.
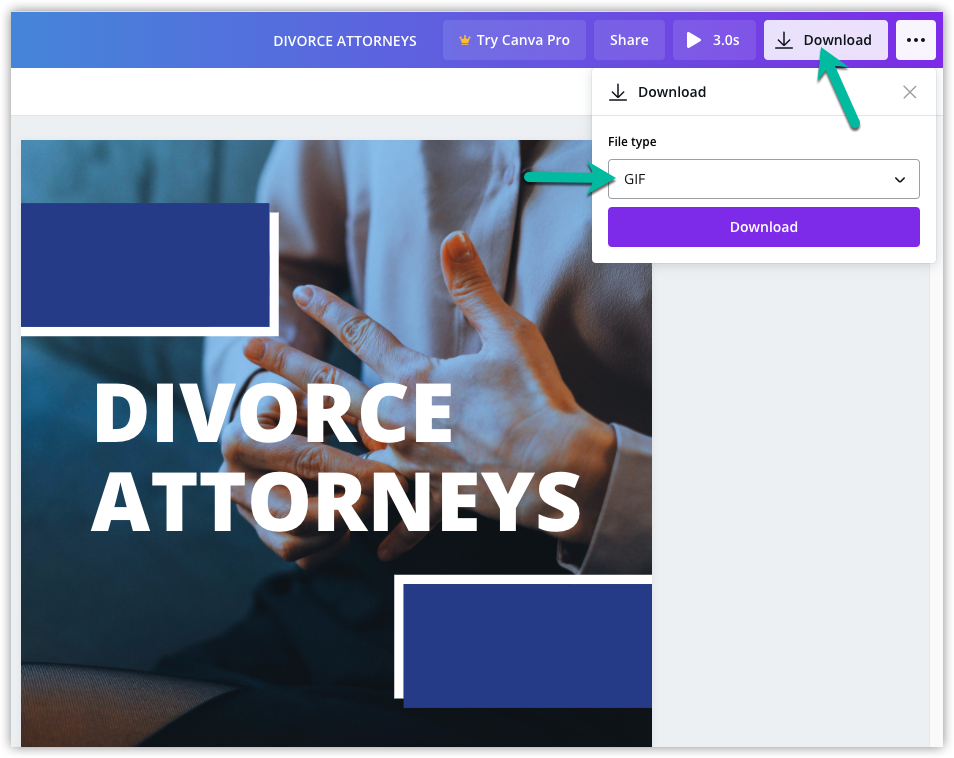
IMPORTANT: After you download your animated image as a GIF, change the file extension to .jpg. This is what tricks Google into accepting the image when you upload it to GMB.
3. Upload the image to the relevant GMB product
Log into your Google My Business dashboard and browse to Products. Select the relevant product (or create the product from scratch if you don’t have products set up yet):
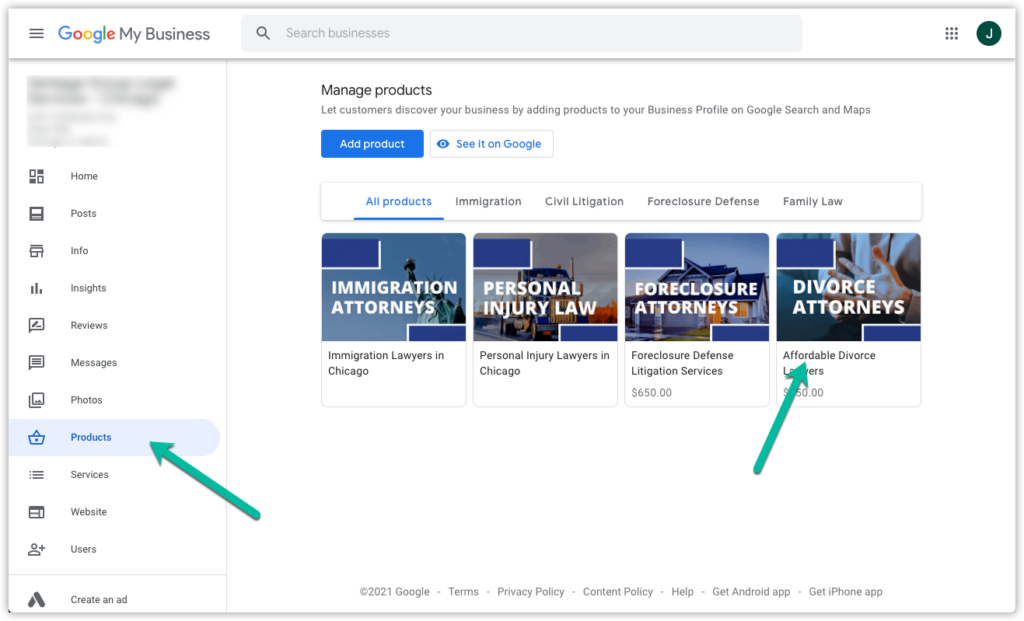
Delete the current image (if there is one), then upload the new image. Once it uploads, click save.
4. Wait a couple minutes, then check out it looks in the wild
Normally it takes Google a few minutues to process new Product images. After a couple of minutes, open a private browser window and search the firm’s name to see if your animated graphic is displaying in the wild. Mine is; how great does that look!?
There you have it! That’s how you can create great looking animated graphics to help your law firm stand out in local search.
Questions? Examples of really cool animated GMB product images? Let us know in the comments!